Tune it – Now What?

Now that you know more about tuners that you ever wanted to, you might be wondering what you should be doing with the one you selected!  Because no matter how ritualized you make your tuning, in the end, you want to get to playing – so you might be wondering,

“I have a tuner…now what?”
Tuning your harpGood question.  Since tuning is pretty essential, people who’ve been at it a while might forget to initiate others into the mysteries of it all – like what you should do when you sit down to tune.

First, some ground rules:

  • There is no one way to tune. Just like there is no single way to play the harp, there are multiple ways to approach tuning. Play around with the suggestions here and find the approach that works for you.  Or hybridize them, or make up your own.
  • No matter how you go about the act of tuning, in the end, be focused on the goal – which is to have a harp that is in tune. Anything that pulls you away from that goal is not serving you as a musician.
  • It is a good idea to tune your harp with all the levers OFF – no matter to what scale you’re tuned. Tuning with the levers engaged doesn’t make a lot of sense – if the levers are doing their job, turning the pin to tighten or loosen the string will have to work against the lever which is designed to hold the string in place – tautly!  Just don’t. Take the levers off and then tune.

So here are some thoughts on the HOW of tuning:

  • The Linear Method* – Start at the bottom of your harp and tune each string, in order, until you get to the top. Yup, easy-peasy. There’s no getting lost or forgetting where you were.  And if you do get lost, as soon as you hear the string you think was next, you’ll have auditory proof that you’re right (or not).  You can also go from top to bottom – there’s no magic in starting at the bottom, so it’s up to you.
  • The Linear Octave Method – Start at the bottom of your harp (my bottom string is a C) and tune that string. Then tune each successive string of that note up your harp (e.g., C6 – C5 – C4 – C3 – C2 – C1). Once at the top of your harp, go back to the bottom and do the next string (e.g., D6 – D5 – etc.).  Iterate until you get to C5) and you’re done.  As with the Linear Method, you could also start at the top and work your way down.
  • The Circle of 5ths Simple Method – This approach is a little more complicated in that it assumes you know and are comfortable with the complete Circle of 5ths**. In addition, you have to pay attention so you don’t forget where you are! Start with your favorite pitch (I start with Ab) (If that doesn’t mean anything to you, and if your harp is not tuned to Bb or Eb, start with A)( If that doesn’t mean anything to you, and your harp is tuned to Bb or Eb, let me know and I’ll address it another time!).  Tune all of the strings of that pitch, then move to it’s 5th and tune all those, move to its 5th and tune all those, etc. until you get back where you started. 
  • The Circle of 5ths Less Simple Method – This method is a little more complicated. Here you really have to pay attention so you don’t get lost! Again, start with your favorite string (I start with Ab3) (If that doesn’t mean anything to you, it’s the Ab above middle C).  Then tune the octave below it (for me, Ab4).  Next tune the octave above it (for me, Ab2), back and forth until all of the strings of that pitch have been tuned.  Then move to its 5th and tune all those, again going below then above, etc. around the Circle until you get back where you started.  This really does require that you pay attention because you have to remember what you have tuned and where you’re going (both direction and 5ths).
  • The Random Walk – I don’t recommend this approach, but I have seen some beginners use no pattern. They just pick a string and tune it and then go on to some other string (and it appears random to me, with no discernable pattern). This really would take a great deal of concentration and it’s likely that you’ll miss a string (or 6).  But I’m not going to tell you not to do it this way – as long as when you’re finished your harp is actually in tune!

Since you might ask, my favorite way to tune is the Less Simple Circle of 5ths Method.  I like it best because everything about it helps me tune – tuning the strings against each other helps me hear them better, using the Circle makes harmonic sense, and for me, not going straight up an octave helps me focus more.  But to be honest, I use all these approaches at various times, depending on the circumstances.  The best method is the one you’ll actually use!  In addition, even the most complicated approach becomes easy if you practice doing it!

Additional Thoughts

Remember there’s more to tuning that slavishly adhering to the tool. Your tuner is not smart. And while it “listens” it doesn’t “hear”!  So, when I have “finished” tuning, I have an additional step to hear that my harp is in tune.  I use this step to correct tuning that might be off.  There are a couple of ways to do it:

  • Play octaves – play a 2 handed one octave scale of octaves from the bottom to the top of your harp. You know how to do this, you learned when you were first playing the harp – play the lowest octave in the left hand (e.g., C6 and C5) and the next higher octave in the right (e.g., C4 and C3) and play a scale straight up until you get to the top of your harp. Listen to what’s coming out of your harp and fix any notes that aren’t sweet. 
  • Play triads – just like above but with triads rather than scales. I like this method best because it really helps me hear when a note is not right. Sometimes, that note will have read right on the tuner and sounded good in the octaves, but played against its 5th (or sometimes its 3rd) then I can hear that it’s just not quite right.  The other advantage is that I can quickly tell exactly which string isn’t right (not just which note) so I don’t have to guess or redo them all (it’s not all the Bs, it’s just B3, for example).  And it’s typically not out by, much so I can correct it fairly easily.

Handy hint – harps are built to be resonant. I place my hand flat against the lowest strings when I’m tuning the middle (remember, I usually start in the middle) – this way the tuner (and my ear) hears the string I’m playing. Otherwise, those lower strings are resonating sympathetically and the tuner hears that, but since, at that point I haven’t tuned those lower strings yet, what the tuner hears might lead me astray.  Then my tuned string is not actually as well tuned as I think and I will have to go back and retune it after I’ve finished tuning – how pointless is that!?!

How do you go about tuning?  Do you have another approach?  Anything that just really doesn’t work?  Let me know in the comments!


* I’ve made up these names, they aren’t “official” but feel free to use them 😉

** Whether you use this method of tuning or not, you need to know and be comfortable and facile with the Circle of 5ths – it’s something we use a lot!
Tune it

Last week after I exhorted you to tune every day, you asked about tuners – good question!

A tuner is certainly an important tool.  Unless you are born with perfect pitch, you’ll need one (and only about .0001% of the population does – that’s only about 775,000 people in the world!).  But a quick internet search for tuners may set your head spinning – there are so many, and they are all shiny, and they all do different things, and are they even right for the harp?!

So, this week, a little walk through the veritable Candyland of tuner types.  Hopefully this will help you decide which one is right for you.  We should start with the (boring but required) caveats – all of this is my opinion,  If you click on a link and buy one, I won’t get anything and I have no endorsement arrangements with any organizations (because I’m an idiot and I don’t make any money by “influencing” you!). 

Tuners are simply tools.  They range from simple and old school to amazingly complicated and precise.  I have tried here to cover the basic types.  I have included some to improve your knowledge even though you are unlikely to need or want them.  Here goes.

First, you DO need a tuner of some kind.  You will, of course, also use your ears, but since the pitches of the notes are mathematically related to one another, some level of precision is needed.  When you are tuning, you will consult with the tool but you will also want to hear that your harp is in tune – that your octaves are aligned and that you are getting harmonics where you expect them. 

Second, no matter which tuning tool you select, you will get better, faster, and more precise if you practice using it. That tuning every day thing will really help with that.  In addition, the more you tune your harp, the better it will stay in tune.  Yes, this is an infinite loop but it ensures you get better at it!

The first tuning tool you could use is a Tuning Fork like this one.  Definitely old school.  Also, it’s a tuning fork not a pitch fork!  You can buy them at the behemoths or at a music shop.  For harps tuned to C, F, or other major scale that keep the A string open, get a 440Hz fork (because they do, in fact, come in pitches) (Note that if you are tuned to Eb, you will want to get a G# like this one because you’ll want to tune with the levers off).  I’d suggest the ones from a music shop because they have the rubberized handle which lets the fork vibrate while you hold it without impacting its frequency.  To use the tuning fork, strike the tines on your arm or leg and then hold the base (the single end) to the sound board.  You’ll hear the reference pitch emanating from the soundboard.  Now play A3 (the A above middle C) and tune the string until you only hear one sound.  If you can hear two separate tones, the string is not in tune.  Once that string is in tune, then tune all the other A’s to A3.  Then you can use the Circle of 5ths to tune the rest of the harp.   

  • Benefits of the Tuning fork –
    • Works in any light
    • Needs no batteries
    • Lightweight, sturdy, and easy to carry
  • Drawbacks –
    • Only as accurate as your hearing and discipline
    • Difficult to use in a noisy environment (like with other instruments also tuning).
    • Significant learning and practice curve

The second tuning tool you could use is the Strobe tuner like this one.  Honestly, I have seen these but have never used one.  They are an electronic tuner which displays the difference between the reference frequency (what the note should be) and what you’re playing.  They are a “gold standard” for tuning. They are scary very accurate.

  • Benefits of the Strobe tuner:
    • Accuracy!  More accurate than any other tuner (likely more accurate that you can hear)
    • Easy to determine if you’re in tune and if your harmonics are in (or out) of tune
    • Easy to see the display and what’s going on
    • Easy to use in a noisy environment
  • Drawbacks –
    • Expensive (even the smaller ones)
    • Challenging (if you don’t fully understand how it works, you’re not easily going to find another harper to explain it to you)
    • High precision can lead to “chasing” the pitch up and down around the center

Third we have Chromatic tuners.  This is probably the most prevalent type of tuner you’ll see at any harp event.  Chromatic tuners allow you to tune your strings to the closest note of the twelve-note chromatic scale (think going up the piano playing C – C# – D – D# – E – F – F# – G# – A – A# – B – B# – c).  These are called semi-tones.  This allows you to tune to whatever major scale you happen to tune to (C, F, Eb, or whatever you have chosen). 

There is the handheld.  This is probably the type of tuner you have.  They come in a lot of forms but most of us are familiar with the Korg like this one.   There is a more complicated Korg like this one

  • Benefits –
    • Inexpensive
    • Easy to read
    • Easy to use
    • Can be used in noisy environments if include a pick up (a small microphone you plug into the tuner like this one)
  • Drawbacks –
    • Battery powered
    • Likely to break if you drop it

Another increasingly popular chromatic tuner is Clip On such as the Snark ST-2 like this one.  You can clip it onto the tuning key or onto one of the sound holes on the back of the harp (which can be a challenge to see while you’re tuning).  The microphone is in the clip, so they work well in noisy or quiet environments.  These are flexible and work well – just make sure you get the right (red) one – the others are for guitars and don’t have the response you need.  Same benefits and drawbacks as other chromatic tuners, but additionally even lighter, easier to carry, don’t need a pickup, and they’re just cute!

Finally, the last type of Chromatic tuner I’ll mention is a Phone App.  There are plenty of free versions for Android and for Apple.  I use gStrings but I don’t think there are vast differences between the available apps.  These work as well as your phone can hear (so, pretty well) and are easy to read.  Like the Snark, they have the same benefits as other chromatic tuners, the display may be more precise than your handheld (mine is at the single Hz so much more precise than my handheld) which can be good but may lead you to chase the pitch.  The benefits are enhanced by the ubiquity of the phone – if you’ve forgotten your tuner, you’ll probably still have your phone!  The don’t have a pickup so in a noisy room you may (or may not) be able to use it. 

Regardless of the type of tuner you select – a few more sage thoughts –

  • Having a backup is a good idea (and essential if you’re gigging).  You might consider carrying two different tuners.  In my gig bag I have a Korg, a Snark, and a tuning fork…and my phone – just in case.
  • No matter how good your tuner is, carry spare batteries!
  • Since your harp life is likely going to be long and you never know what kind of music you might be playing or who you might have the opportunity to play with, make sure your tuner can be calibrated (for instance you probably tune to A440Hz as a current convention, but you might move into other music that might have a different setting (like A4 = 432Hz)).  You might also look for other types of tuning – does your tuner have non-equal temperament such as Pythagorean?
  • No matter which of these you choose – practice using it!  The more you use it to tune, the better you’ll be able to correlate what the display tells you with how much to turn the wrench.
  • Finally – nothing beats listening.  It really doesn’t matter what the display says if the harp sounds wrong!  Be prepared to retune a string that sounds off.  Do that before you start playing!

I hope some of that was helpful.  What type or brand of tuner do you have?  Do you like it?  What does it do that you like?  What is it missing?  Let me know in the comments!


It’s the little things

The year is still young so we’re probably still thinking we should be setting goals.  One thing about goal setting is that it is really focused on a later time and on achieving big things.  Now, don’t get me wrong, achieving big things is good and important and really nice to accomplish. 

But the challenge is that it’s easy to get caught up in the “big goals” and forget about the smaller goals.  You know the ones.  The goals that actually provide the foundation for those big goals.  They are usually small enough that they don’t make the cut for a goals list (or a visi-mood board).  Why?  Because they are small.  But they are also essential.  After all – it’s the little things.

These are the sort of thing that I tend to write on each day’s Things To Do list.  Not because I won’t remember to do them, but rather because they are that important. What am I talking about?  Where here’s one you might want to include on your list for 2022:

Tune your Harp(s) EVERY DAY!

I know, right?!  And yet, it’s easy to just let this one slip – “I don’t have enough time,” “It’s tuned enough,” “No one is listening” – the list of excuses goes on and on. 

We know that tuning your harp is important as part of harp maintenance.  As I have mentioned before, tuning is good for your harp.  And the more you tune, the better you’ll get at it, so it will become faster and easier. 

But tuning your harp is a daily activity that has absolutely nothing to do with keeping your instrument in tune!  The biggest benefit of tuning as an activity is that it can become a ritual.   

Rituals are important – they can help you settle and become attuned to the upcoming activity.  A ritual can act to help you enter into your practice and playing time in a useful frame of mind.  A ritual is a process, repeated daily, that can aid in transitioning from your everyday life to your harp life. 

And tuning is a good ritual to build into your day – it will help you focus and prepare to play.  Think of the ritual of tuning as a quiet, focused way to make the shift (and it will make you sound better!).

Adding a ritual like tuning – a small goal performed daily – might be that all you need to be comfortable that you can get moving on those big goals.  Every time you finish tuning you will have moved a little farther along on your (small) goals and set yourself up to feel good about tackling the next step of your larger goals. 

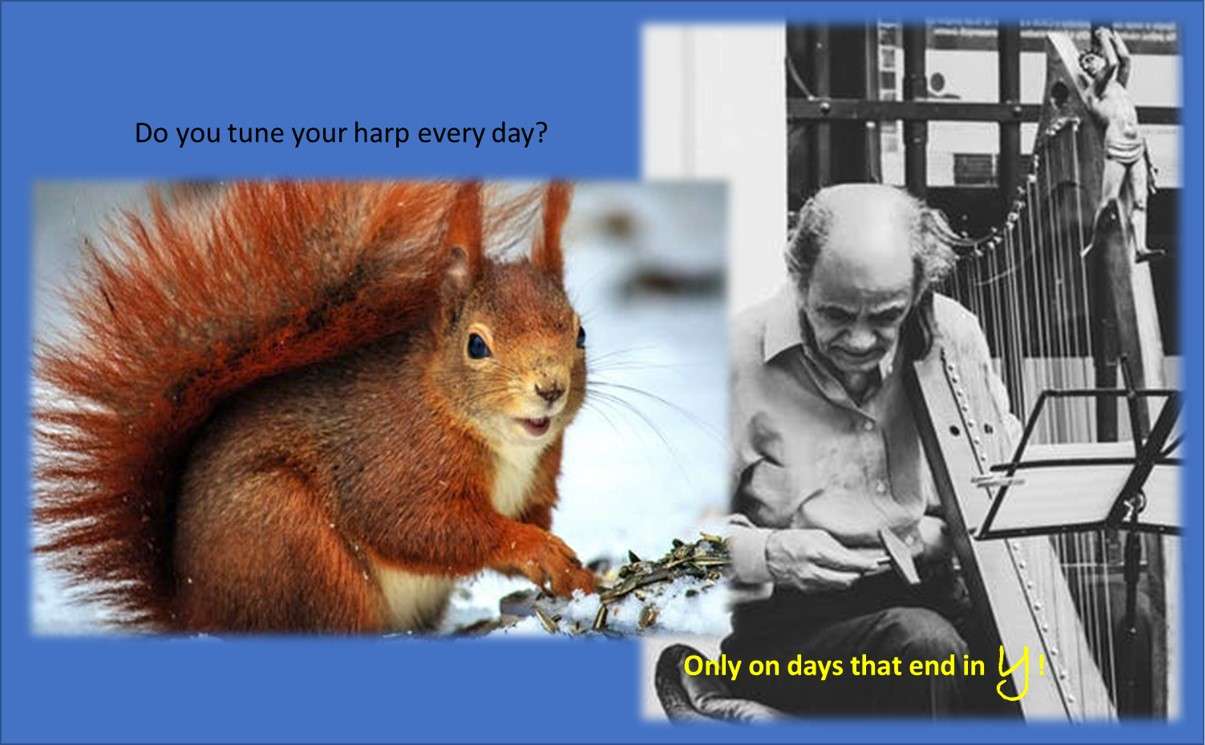
Do you really need to tune your harp every day?  Nope – just on the days that end in “y”!

Please tell me you tune your harp!  Do you have a ritual for your playing?  Did you define small goals?  Did you have small goals?  Let me know in the comments!


What do you see?

So – did you make a vision/mood (visi-mood?) board?  What do you see?

This is meant to be an exercise that allows you to explore your thinking on what you’d like to accomplish (translation – your goals) for the year.  I hope you did make a board.  It’s an interesting way to get started on moving forward to where you think you’d like to be.  It’s certainly not writing up a load of resolutions or wishes.  If nothing else, it’s a compelling way to go about thinking about what activities you’d like to contemplate for the coming time. 

I did one.  I liked that it really required thinking.  It meant not only conceiving of what to do and focus on, but also then find a graphic way to represent it – yikes! 

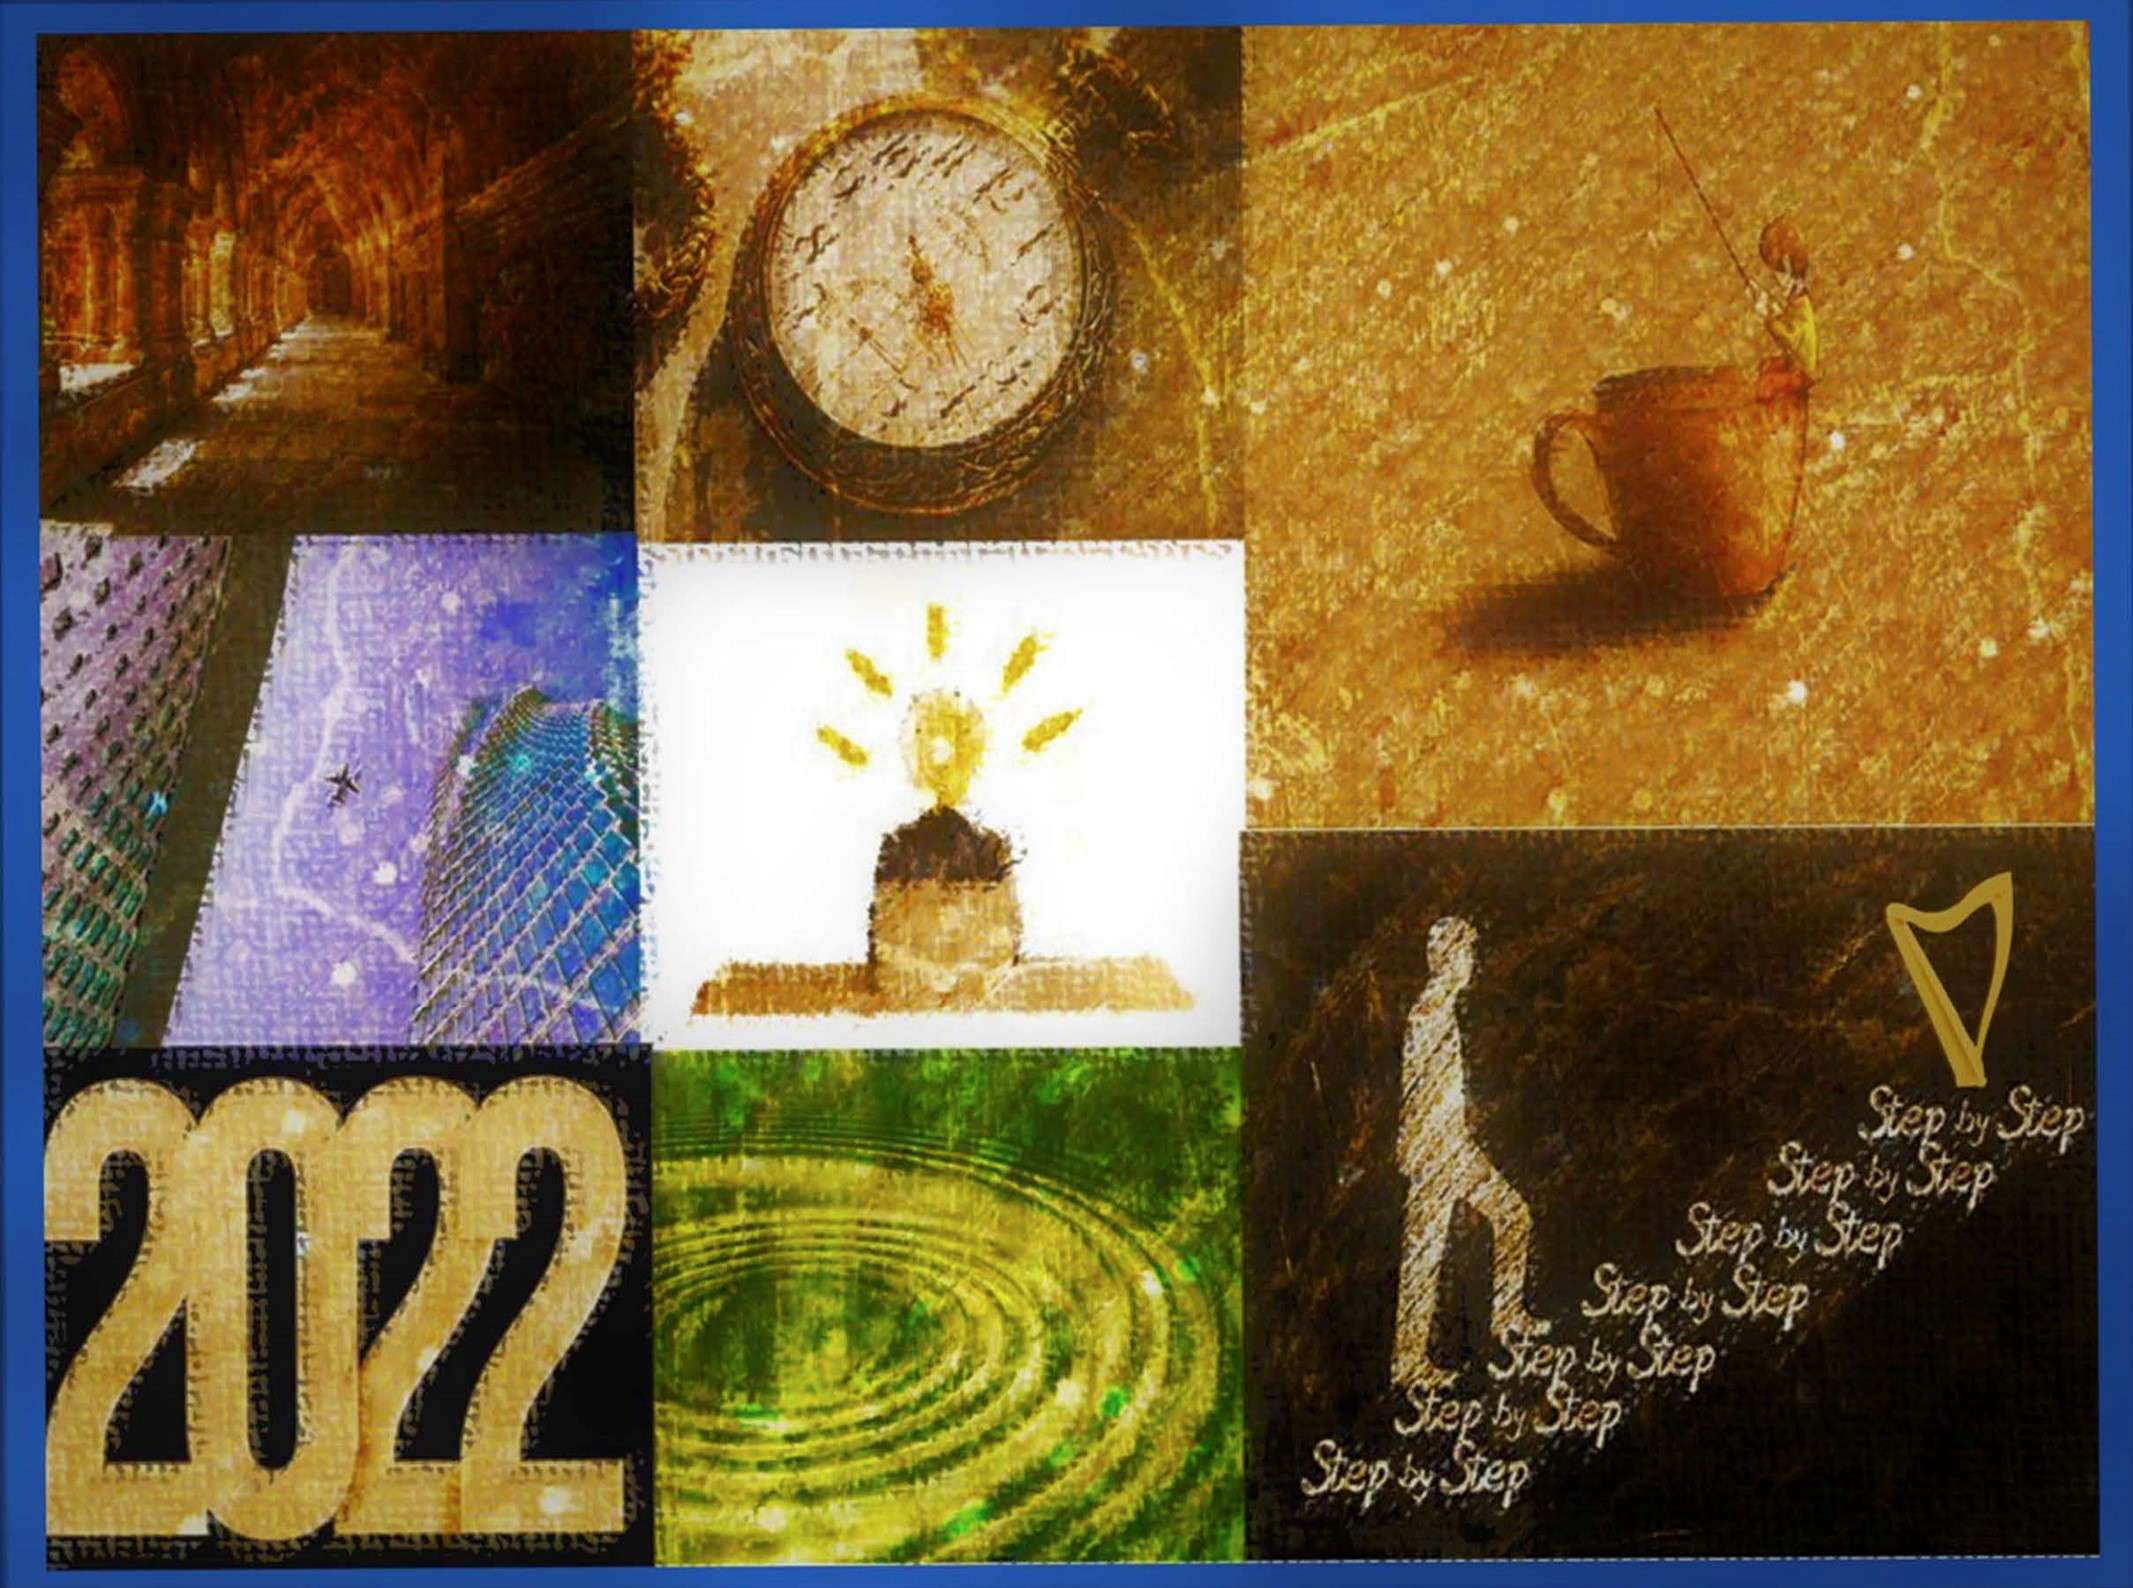
Going graphic meant that I really had to examine all the things I was thinking about and generate ways to represent that.  Here’s what I came up with.

Vision Mood BoardHow about yours?

Of course, mine doesn’t mean anything to you – it’s my board!  But it does incorporate all my big goals for the year for my music.  More importantly, it helped me figure out which were actual goals (things that I can actually accomplish with a defined finish line and more than just a little detail on the process for getting there) and which were just wishes (of course I’d like to do all kinds of big and exciting stuff …but a lot of those things are just colossal stretch – and more a hankering than a goal). 

Making a board also really shone light on the “shoulds” that were crowding in.  You know the sort of thing – I should do x and if I really wanted to move forward, I should do y (where x and y are things that maybe a lot of other people are doing but that I just don’t value or am just not interested in doing).  The problem with shoulds is that they weigh a lot but don’t actually help you move.  Being able to identify those shoulds let’s you set them aside and focus on the goals you want to meet rather than to fixate on things of no import.

So, did you make a visi-mood board?  Did it help you define your goals for this year?  Did you learn anything?  Do you feel ready to codify your goals for the year?  Let me know in the comments!

Vision of the new year

Happy New Year!  It’s that time of year when it seems like everyone is setting goals and resolutions – our vision of the new year.  This year, we just don’t know.  There is still loads of uncertainty going into 2022, but we go on anyway.

Of course, the reality is that at this point of any year we have no idea what’s coming!  Our vision is limited.  It’s only in the last couple of years that we’ve been made very aware that we don’t know what’s coming, certainly in a way we haven’t been in the past.  So really, this year is beginning like every other year we’ve seen the start of.  It just seems more unavoidable this year.  Maybe it’s unavoidable, but it’s also status quo.

Vision Mood boardNow that we’ve established that this year is just like every year, we can get moving setting some goals.  Even though this year is like others before, we do feel more uncertain and actively setting some goals and writing them down may be more important this year than any other year.  After all, even though it’s the same as every other year, it still feels different.  And we could all use a little bit of support to make it through the unknown. 

But let’s not be hasty.  While we know that setting some goals will help us to keep focused throughout the year, we also know that most people don’t even get through January before those goals have been forgotten or overcome by events.  So, we can get to our goals but let’s get there smartly. 

Let’s start moving forward by looking back.  Start by asking yourself about the good that has come from our previous year.  Actively recognize your previous successes – all of them!  Might as well start on a positive note.

Now, for those goals.  You might have heard the oft reported  study that people who write down their goals are significantly more likely to achieve them (like so much internet data, the “Harvard study” that reports only 3% of people actually achieve their goals is apparently an urban myth, but actual research has also shown this!).  Writing goals down can be broadly defined – the point is to develop the goal and get it out of your head so you can refer to it (rather than either forgetting about it or allowing it to “morph” from a goal to just an idea you had).

Let’s set ourselves up for success.  Rather than just throwing some goals on paper and then forgetting about them (whether they’re written or not), how about starting with an exercise to really help focus and define good, achievable, success-oriented goals.  Let’s bastardize the Vision Board (which captures your view of what you’d like to manifest) and the Mood Board (which is really a visual planner).  You don’t have to buy into the hype of either of these tools to use them – and smushing them together into a single entity is just more useful.  Because really all these do is help you to see:

  • a representation of where you’d like to go (these might become your goals)
  • how you might go about getting from here to there (these might become your process)
  • and the outcomes along the way (these might become products or outputs along the way). 

The important thing is to capture your thinking and then to look at it critically, make sure you have captured your thinking accurately, made changes as needed and capturing those too. 

Of course, you can use any medium – you can make a visual representation as a collage, drawing, painting, make paper dolls – whatever.  But don’t be focused on how you get it out – you could also write it out.  Use what works for you – write a puppet show, compose a song, choreograph a dance!  It really doesn’t matter as long as it helps you refine what you think you’d like your goals to be. 

This week, take some time to think about what you’d like to do this year (don’t be too focused on when you start  or how long you will be working on it.  After all the “new year” is just a calendar convention, January is when we’ve come to consensus on when the year begins).  Give yourself some time and space to do this – have a cup of tea and a slice of quiet and think about it.  When you think you have an idea, start building your board (in whatever format you choose).  Be free.  Be creative.  Be flexible.  Get it captured in your format.  Don’t just think about it – we’re going to move on from here, so you need a place to start.  Remember, you’re thinking and capturing – not committing!  And if you’re willing, share it with us – let me know in the comments.